First Login
This guide will walk you through the initial login process and the essential first steps to secure and configure your BunkerM installation.
Accessing the Login Page
After installing BunkerM, you can access the web interface:
- Open your web browser and navigate to
http://localhost:2000(or the appropriate address if installed on a remote server) - You should now see the BunkerM login page
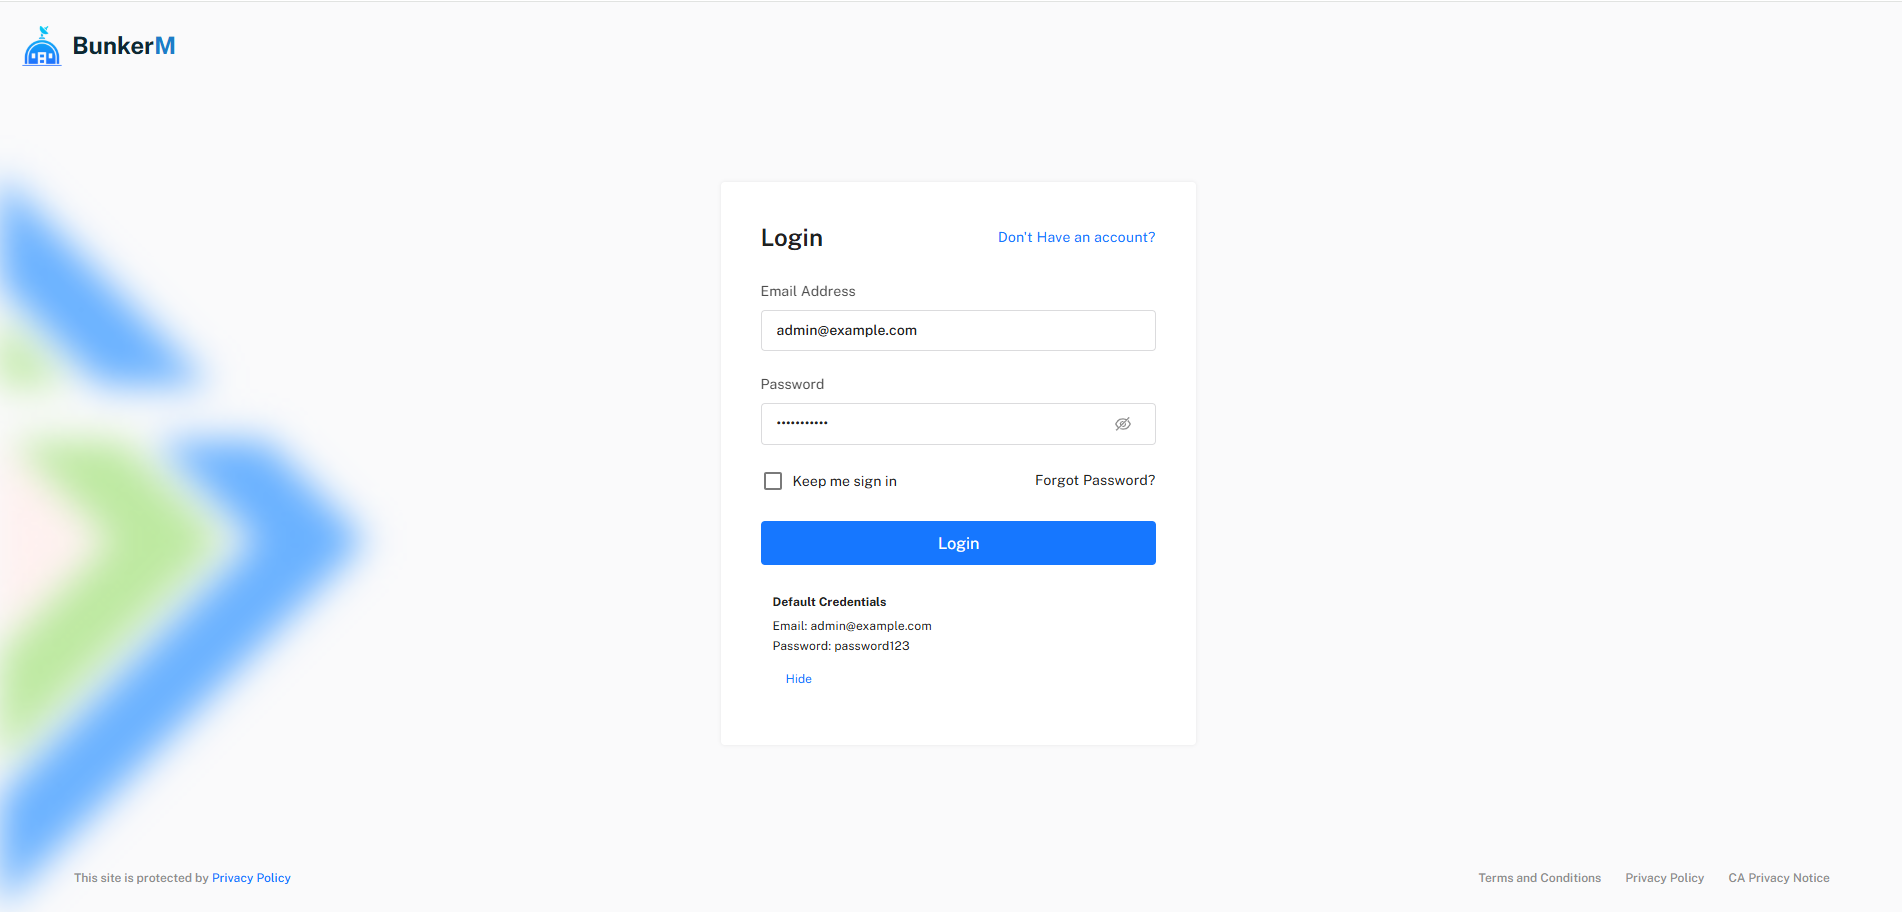
Default Credentials
For your first login, use the following default credentials:
- Username: admin@example.com
- Password: password123
Changing the Default Password
For security reasons, you should change the default password immediately after your first login:
- After logging in, click on your username in the top-right corner
- Select Account Settings from the dropdown menu
- In the Change Password section, enter your current password and your new password twice
- Click Update Password
Warning
Using the default credentials in a production environment poses a significant security risk. Always change the default password immediately.
Initial Dashboard Overview
After logging in, you'll be taken to the main dashboard, which provides an overview of your MQTT broker's status:
- Connected Clients: Shows the number of currently connected MQTT clients
- Message Statistics: Displays message throughput metrics
- Broker Status: Indicates whether the broker is running properly
- Recent Activity: Shows recent connection and message events
Essential First-Time Setup Tasks
1. Configure Broker Settings
Before using BunkerM in production, you should review and adjust the broker configuration:
- Navigate to MQTT Management > Broker Configuration in the left sidebar
- Review the default settings and adjust them according to your needs
- Pay special attention to:
- Maximum connections
- Maximum message size
- Persistence settings
- Logging levels
- Click Save Configuration when done
2. Create Administrator Accounts
If multiple people will be managing the broker, create separate administrator accounts:
- Navigate to Administration > User Management
- Click Add User
- Fill in the user details and select the appropriate role
- Click Save
3. Set Up Your First MQTT Client
To test that everything is working correctly:
- Navigate to MQTT Management > Client Management
- Click Add Client
- Enter a username and password for your test client
- Click Save
4. Configure Access Control
BunkerM uses a role-based access control system for MQTT clients:
- Navigate to MQTT Management > Role Management
- Click Add Role
- Create a basic role with appropriate permissions
- Assign this role to your test client
Next Steps
After completing the initial setup, you can:
- Configure more detailed ACL rules
- Set up client groups
- Explore monitoring capabilities
- Configure cloud integrations (Pro feature)
For more detailed information on any of these topics, refer to the specific sections in this documentation.