Quick Start Guide
This guide will help you get up and running with BunkerM quickly. We'll cover the basics of starting the container, accessing the web interface, and creating your first MQTT client.
Starting BunkerM
The fastest way to start BunkerM is using Docker:
This command will: - Download the BunkerM image (if not already present) - Start a container in detached mode - Map port 1900 for MQTT communication - Map port 2000 for the web interface
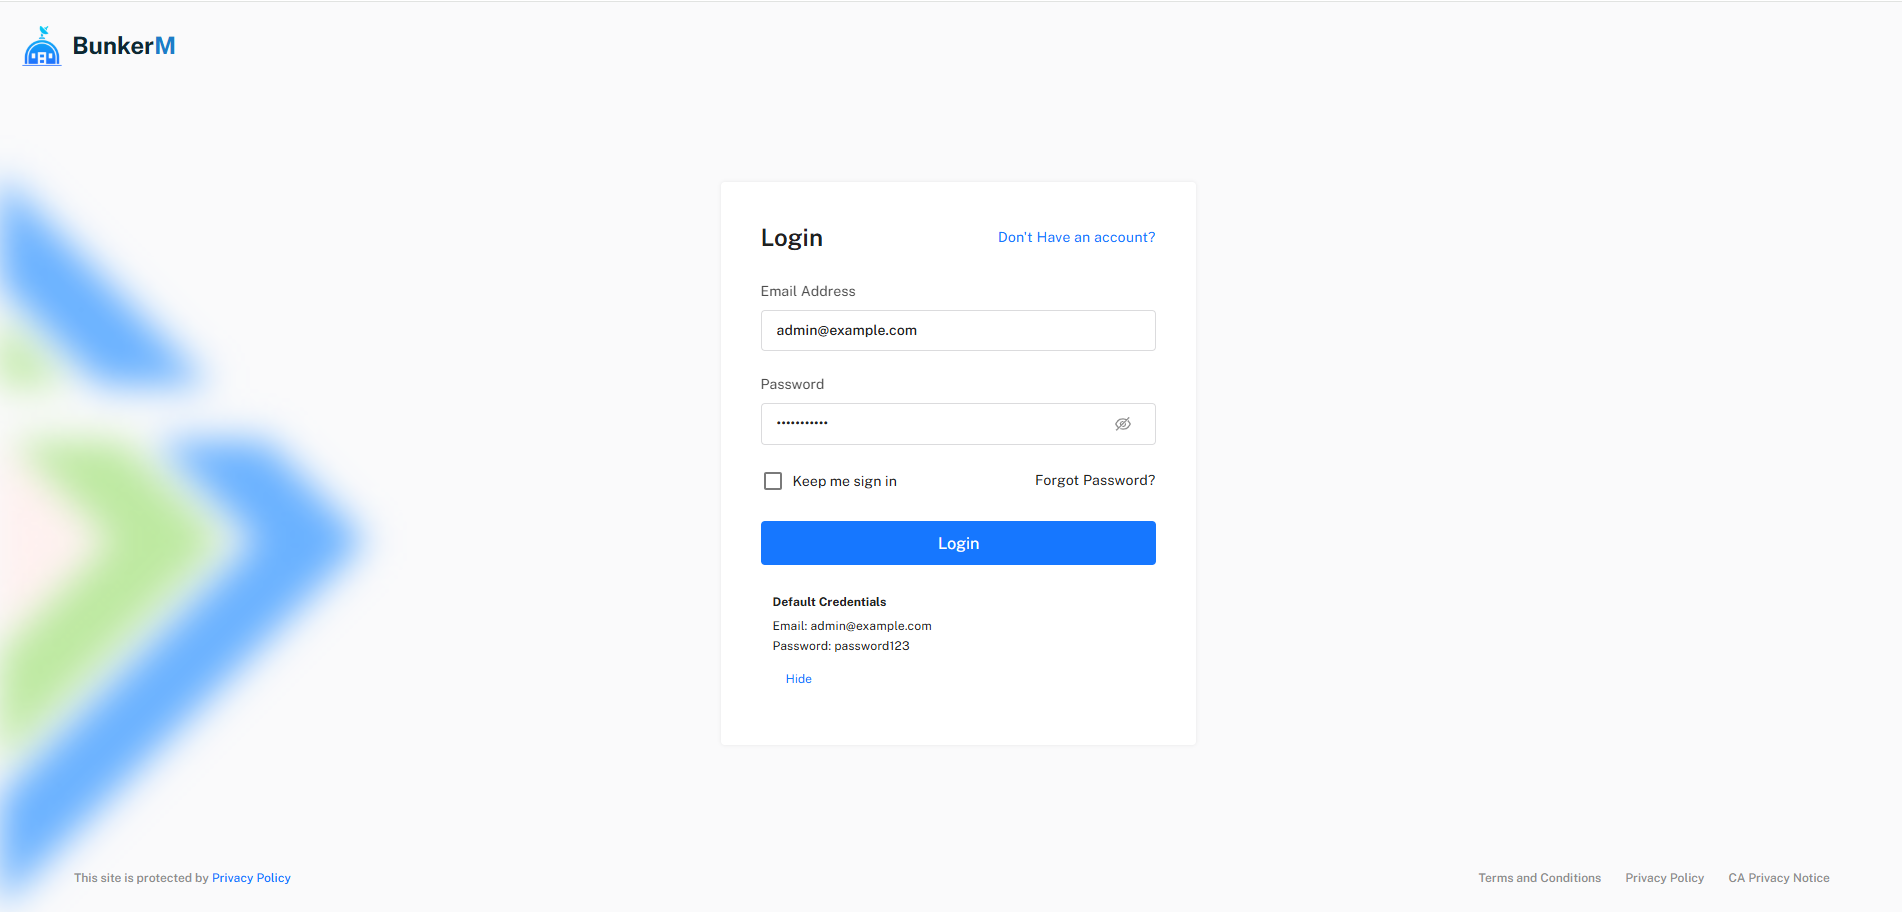
Accessing the Web Interface
- Open your web browser and navigate to
http://localhost:2000 - You should see the BunkerM login page
First Login
For your first login, use the following credentials:
- Username: admin
- Password: admin
Warning
For security reasons, you should change the default password immediately after your first login.
Creating Your First MQTT Client
Before you can connect to the MQTT broker, you need to create a client:
- In the left sidebar, navigate to MQTT Management > Client Management
- Click the Add client button in the top right corner
- Enter a username and password for your MQTT client
- Click Save

Connecting to the MQTT Broker
Now that you've created a client, you can connect to the MQTT broker using any MQTT client application:
- Broker Address: localhost (or your server's IP address)
- Port: 1900
- Username: The client username you created
- Password: The client password you created
Example with Mosquitto CLI
mosquitto_pub -h localhost -p 1900 -u your_client_username -P your_client_password -t test/topic -m "Hello from BunkerM!"
Example with MQTT Explorer
- Download and install MQTT Explorer
- Create a new connection with the following settings:
- Host: localhost
- Port: 1900
- Username: Your client username
- Password: Your client password
- Click Connect
Monitoring MQTT Activity
BunkerM provides real-time monitoring of MQTT activity:
- Navigate to the Dashboard in the left sidebar
- View the "Recent MQTT Events" panel to see real-time connection and message activity
- Check the "Broker Statistics" panel for overall performance metrics
Next Steps
Now that you have BunkerM up and running, you can:
- Configure broker settings
- Set up role-based access control
- Organize clients into groups
- Monitor broker and client logs
For more detailed information, explore the rest of the documentation.